Codename One can project a driver-safe UI onto Apple CarPlay and Google Android Auto from a single portable API under the com.codename1.car package. You describe the screens once with a small set of cross-platform templates; Codename One renders them as native CPTemplate`s on CarPlay and `androidx.car.app templates on Android Auto.
CarPlay and Android Auto are template-based UI systems. Unlike the phone, tablet, or even Apple TV/Android TV (which reuse the normal Codename One renderer), the car platforms don’t let an app draw arbitrary pixels or show a regular Codename One Form. To minimise driver distraction the system only renders a fixed catalogue of templates — lists, grids, info panes, messages, navigation and now-playing — and grants access per app category (audio, communication, navigation, point-of-interest). The com.codename1.car API maps the common in-car use cases onto that catalogue. "Seamless" here means seamless integration, lifecycle and build wiring — not running your existing phone UI on the dashboard.
This API is zero cost when unused: simply referencing com.codename1.car is what tells the build to wire the native plumbing (the CarPlay scene + entitlement on iOS, the androidx.car.app dependency + CarAppService on Android). Apps that never touch the package get none of it.
Quick start
Register a single CarApplication from your app’s init() — before a head unit connects — and return a root CarScreen that builds a template:
public class MyApp {
    public void init(Object context) {
        // ... normal app init ...
        Car.setApplication(new MyCarApplication());
    }
}

class MyCarApplication extends CarApplication {
    public CarScreen onCreateRootScreen(CarContext context) {
        return new LibraryScreen();
    }
}

class LibraryScreen extends CarScreen {
    protected CarTemplate onCreateTemplate() {
        return new CarListTemplate().setTitle("Library")
            .addRow(new CarRow("Now Playing").setText("Daft Punk - Discovery")
                .setOnAction(ctx -> play()))
            .addRow(new CarRow("Albums").setBrowsable(true)
                .setOnAction(ctx -> ctx.pushScreen(new AlbumsScreen())))
            .addRow(new CarRow("Playlists").setBrowsable(true)
                .setOnAction(ctx -> ctx.pushScreen(new PlaylistsScreen())));
    }
}
That single description renders natively on both platforms:
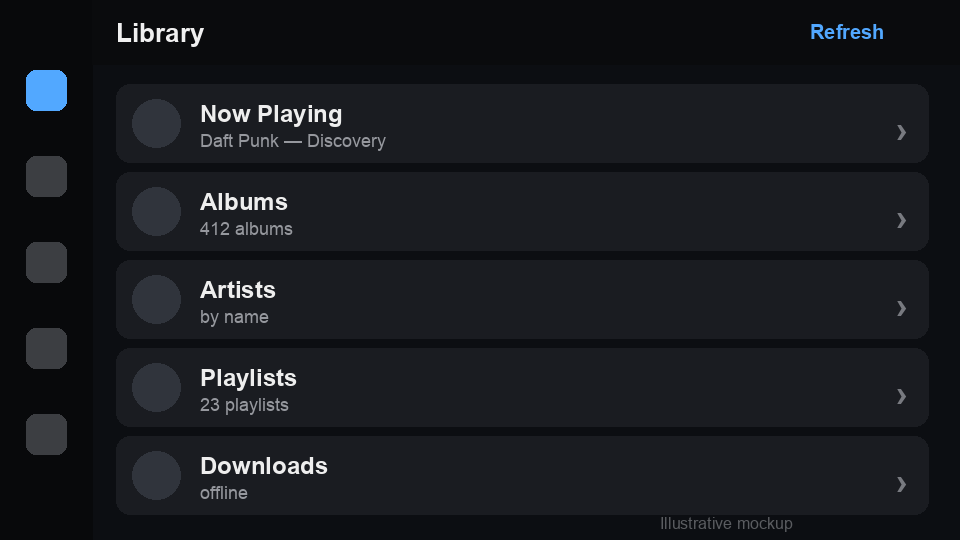
On the simulator and on any port without in-car projection there is no head unit, so the whole API is an inert no-op and CN.isCarConnected() returns false — your code never needs platform if statements.
Templates
A CarScreen returns exactly one CarTemplate. The catalogue mirrors what the head units allow:
| Template | Use for | CarPlay | Android Auto |
|---|---|---|---|
| Sectioned scrolling list of rows (browse, settings) |
|
|
| Image-forward grid (categories, presets, artwork) |
|
|
| Detail pane: label/value rows + up to two actions |
|
|
| Short message + actions (errors, prompts, messaging) |
|
|
| Turn-by-turn surface with a drawable map |
|
|
| System now-playing surface for audio apps |
| media now-playing |
Rows (CarRow), grid items (CarGridItem) and actions (CarAction) carry a title, optional secondary text, an optional com.codename1.ui.Image icon and a CarActionListener invoked on the EDT when the element is selected. Mark a row setBrowsable(true) when selecting it drills into a deeper screen.
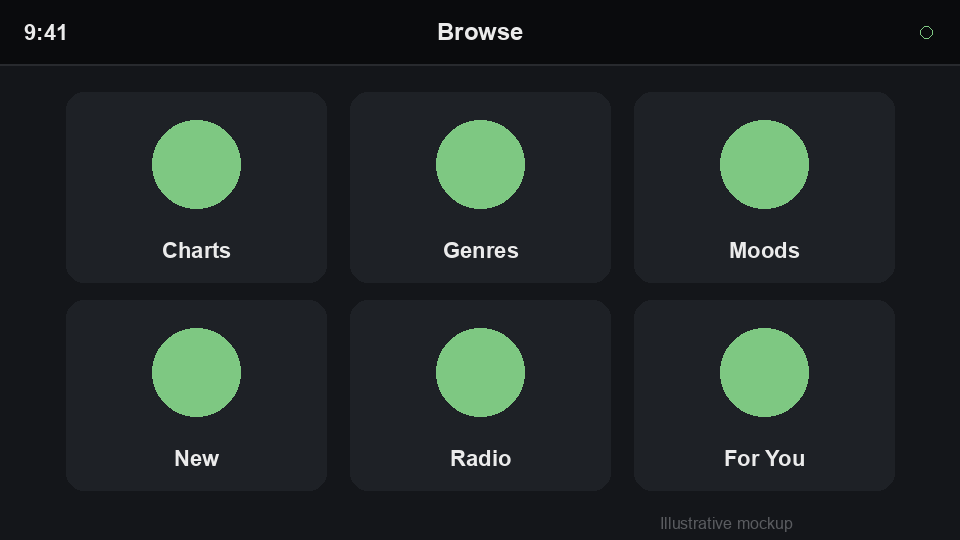
Head units enforce a hard cap on the number of rows/items they display (driver-distraction rules). Query it and trim accordingly:
int max = context.getListRowLimit(); // 0 when the head unit doesn't say
int count = (max > 0) ? Math.min(items.size(), max) : items.size();
CarListTemplate t = new CarListTemplate().setTitle("Library");
for (int i = 0; i < count; i++) {
    t.addRow(new CarRow(items.get(i)));
}
Screen stack & lifecycle
CarContext manages a back stack, mirroring androidx.car.app’s `ScreenManager and CarPlay’s CPInterfaceController:
context.pushScreen(new DetailScreen());  // drill in
context.popScreen();                     // back
screen.invalidate();                     // rebuild this screen's template after a model change
context.showToast("Added to queue");
CarScreen exposes optional lifecycle hooks — onCreate(), onResume(), onPause(), onDestroy() — and CarApplication is notified of connection changes via onCarConnected(CarContext) / onCarDisconnected(). You can also observe connection globally:
class CarAwareForm extends Form {
    // Car keeps the listener in a static list, so a screen-scoped observer
    // has to hand back this exact instance or every recreated screen stays
    // reachable and keeps receiving connection callbacks
    private CarConnectionListener connectionListener;

    protected void initComponent() {
        super.initComponent();
        connectionListener = new CarConnectionListener() {
            public void carConnected(CarContext ctx) { startLocationStream(); }
            public void carDisconnected()           { stopLocationStream(); }
        };
        Car.addConnectionListener(connectionListener);
    }

    protected void deinitialize() {
        Car.removeConnectionListener(connectionListener);
        super.deinitialize();
    }
}
Now-playing (audio apps)
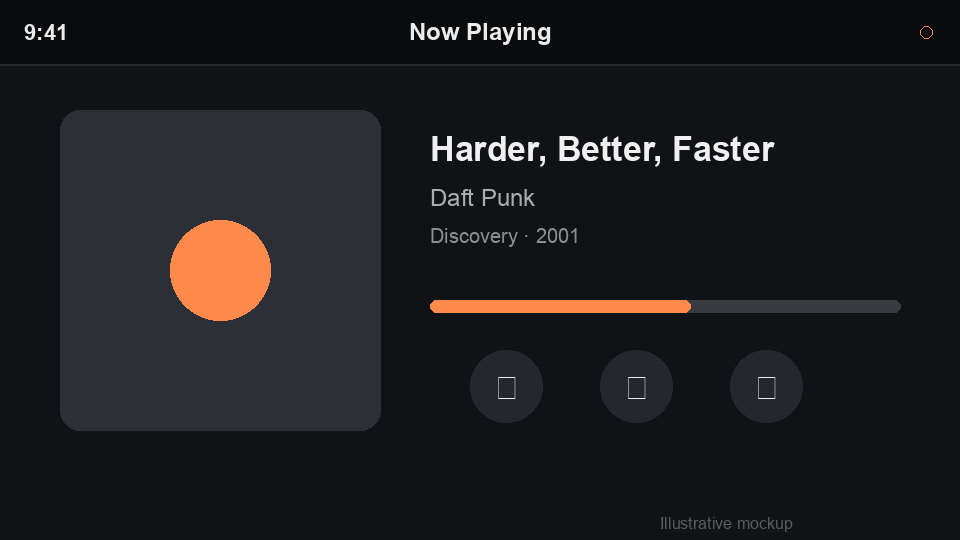
For audio apps the track metadata, artwork, scrubber and transport controls are driven by the platform media session (the Android background audio service / MPNowPlayingInfoCenter on iOS), so CarNowPlayingTemplate carries no metadata of its own — it routes the head unit to the now-playing surface and lets you add a couple of app-specific buttons (shuffle, like).
Build configuration
Native wiring is added automatically when your bytecode references com.codename1.car. Apple grants CarPlay entitlements — and Android Auto surfaces categories — per app category, so declare the categories you ship with these build hints:
| Category | iOS hint | Android hint | Notes |
|---|---|---|---|
Audio |
| (media browser service) | Default CarPlay entitlement when none specified |
Communication |
|
| Read-aloud / voice reply |
Navigation |
|
| Adds the drawable map surface + |
Point of interest |
|
| Browse/POI list apps |
Optional: android.carAppVersion pins the androidx.car.app version; android.androidAuto.minCarApiLevel sets the minimum car API level.
CarPlay and the restricted Android Auto categories require approval from Apple/Google before they will run outside the simulator/Desktop Head Unit. The build wiring is automatic, but shipping to real cars still needs the relevant CarPlay entitlement on your Apple App ID (request it at developer.apple.com) and acceptance into the Android Auto programme.
Debugging in the simulator
The fastest way to build and debug an in-car experience is the Codename One simulator. Run your app as usual, then use the Car menu:
Car > Connect CarPlay or Car > Connect Android Auto opens a simulated head-unit window that renders your registered
CarApplicationin the matching style. Click rows, grid items and actions to drive navigation (pushScreen/popScreen) exactly as a real head unit would; the Back button pops the stack.Car > Disconnect (or closing the window) ends the session and fires
onCarDisconnected().
This needs no iOS/Android toolchain, no entitlement and no head unit — it exercises the same portable template tree and the same CarActionListener callbacks (on the EDT) that ship to the device, so you can iterate on your screens in seconds. If you haven’t called Car.setApplication(…) the menu tells you so. The simulated head unit approximates the two platform styles and the driver-distraction row caps; it’s a debugging aid, not a pixel-accurate emulation.
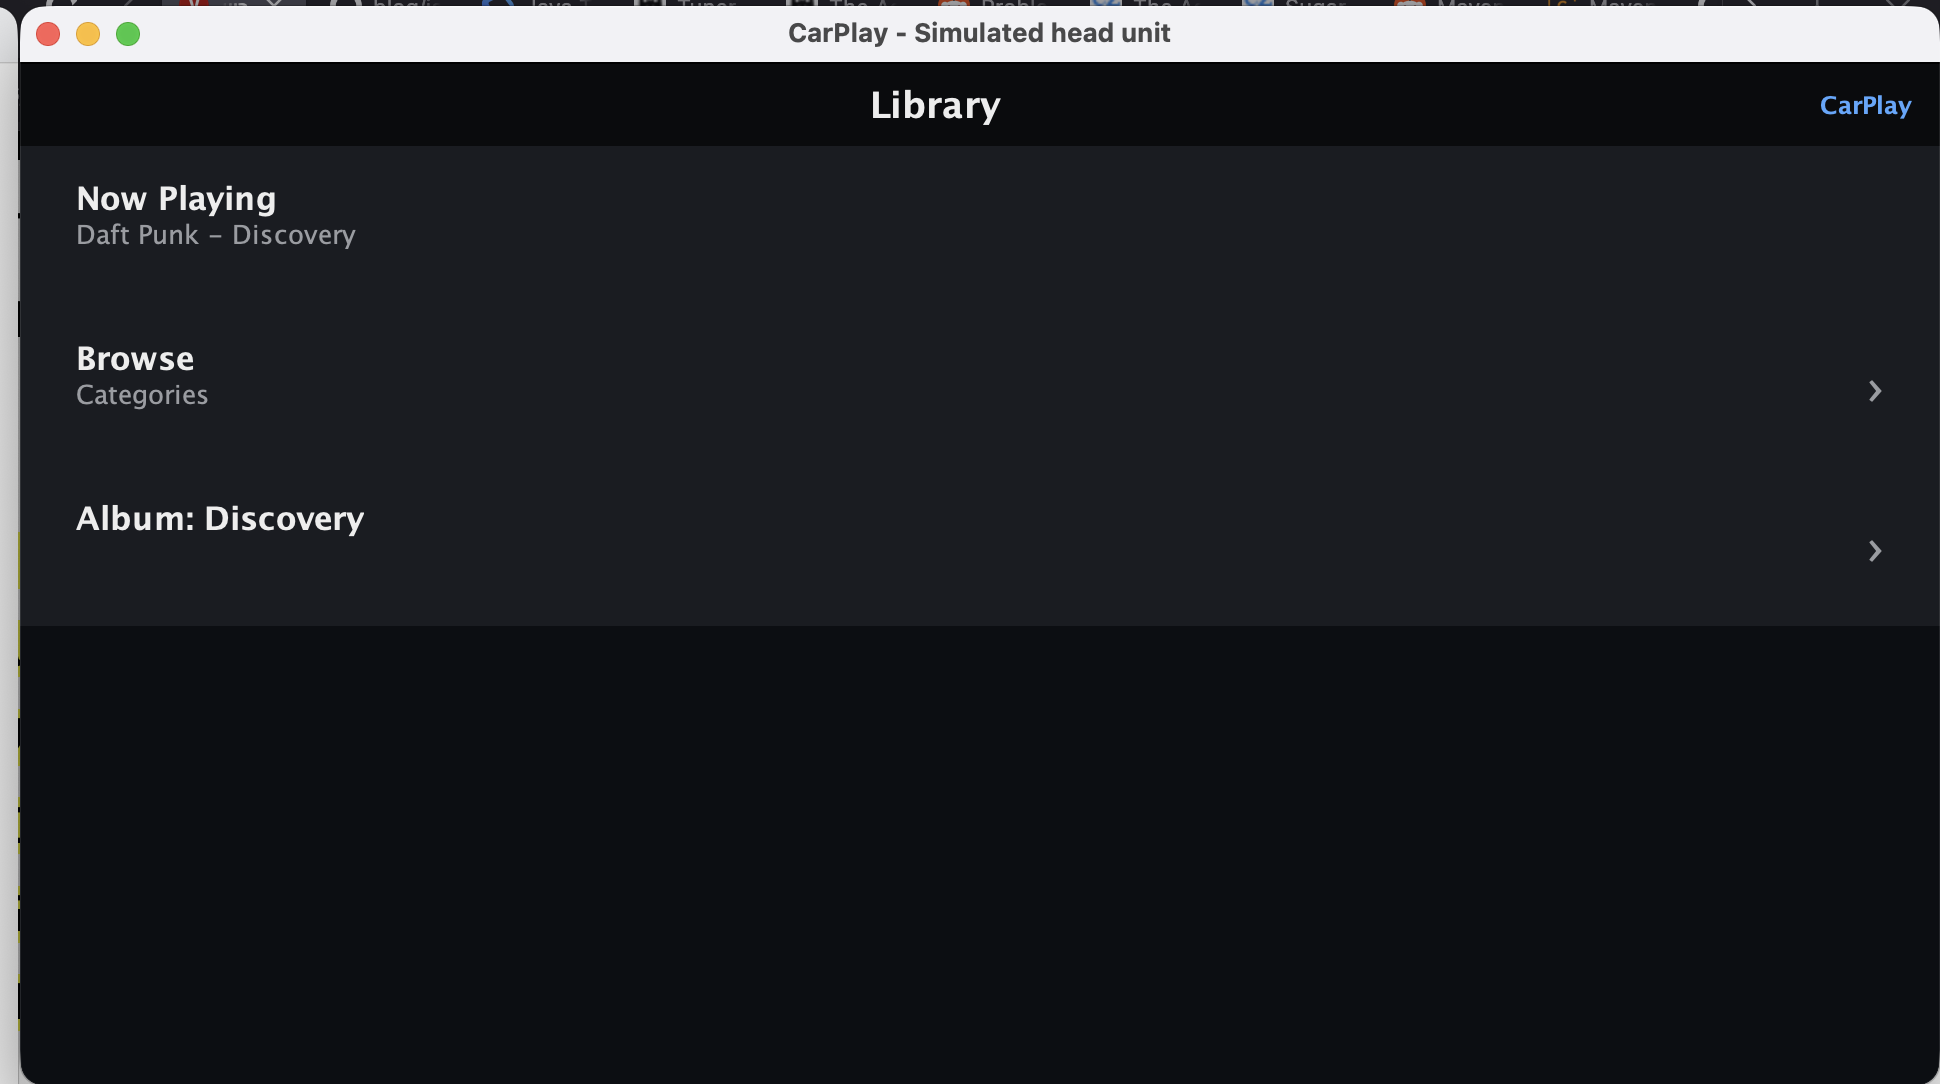
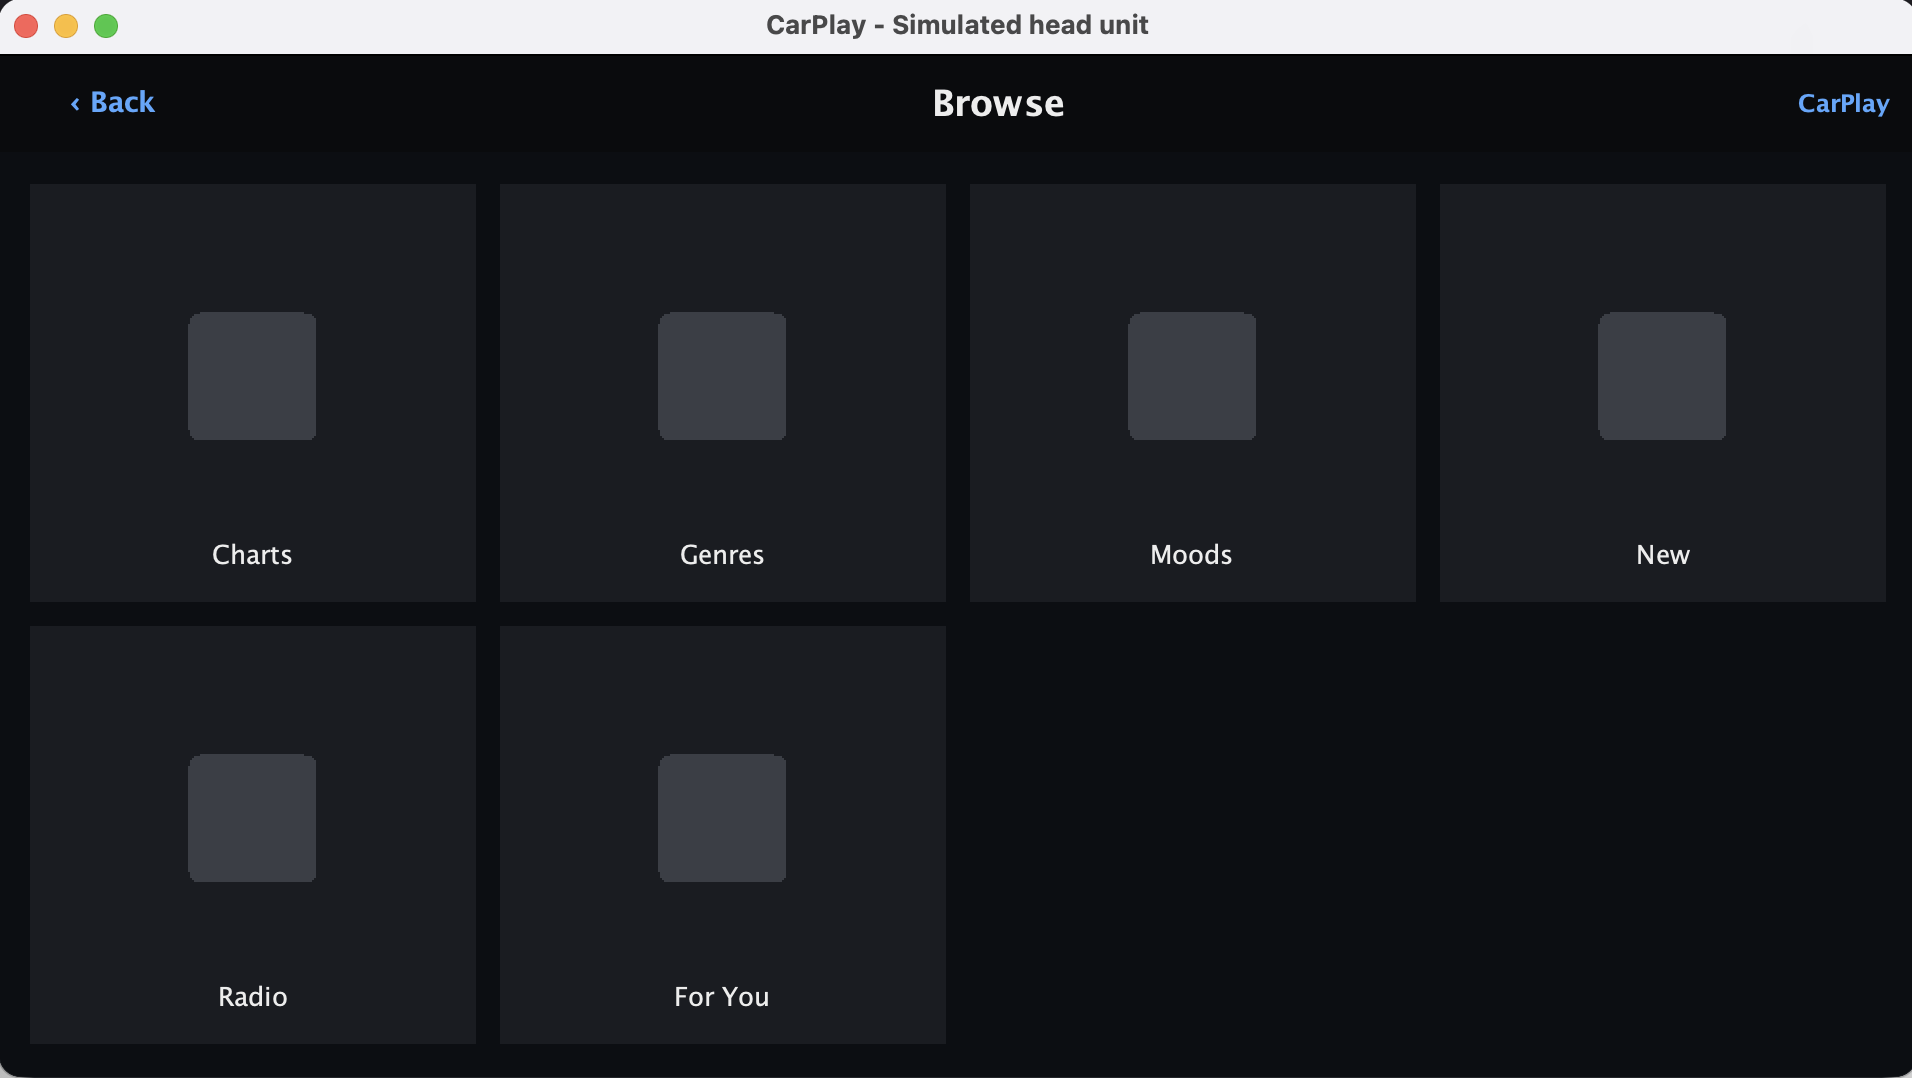
Selecting a browsable row pushes the next screen, just as it would in the car — here a CarGridTemplate, reachable via the Back button:
Testing on the real platforms
iOS: run the app in the iOS Simulator, then I/O > External Displays > CarPlay to open the CarPlay window.
Android: install the Desktop Head Unit (DHU) from the Android SDK and connect a device/emulator running Android Auto.
A complete runnable example lives in Samples/samples/CarSample.
Limitations
The navigation map surface (
CarSurfaceCallback) is scaffolded; live map drawing onto the head-unit surface is a work in progress — the navigation template’s controls, header and ETA strip are wired.Android Auto media browsing is driven by the standard media session;
CarNowPlayingTemplateroutes to it.You can’t show arbitrary Codename One forms on the head unit — use the template catalogue above.